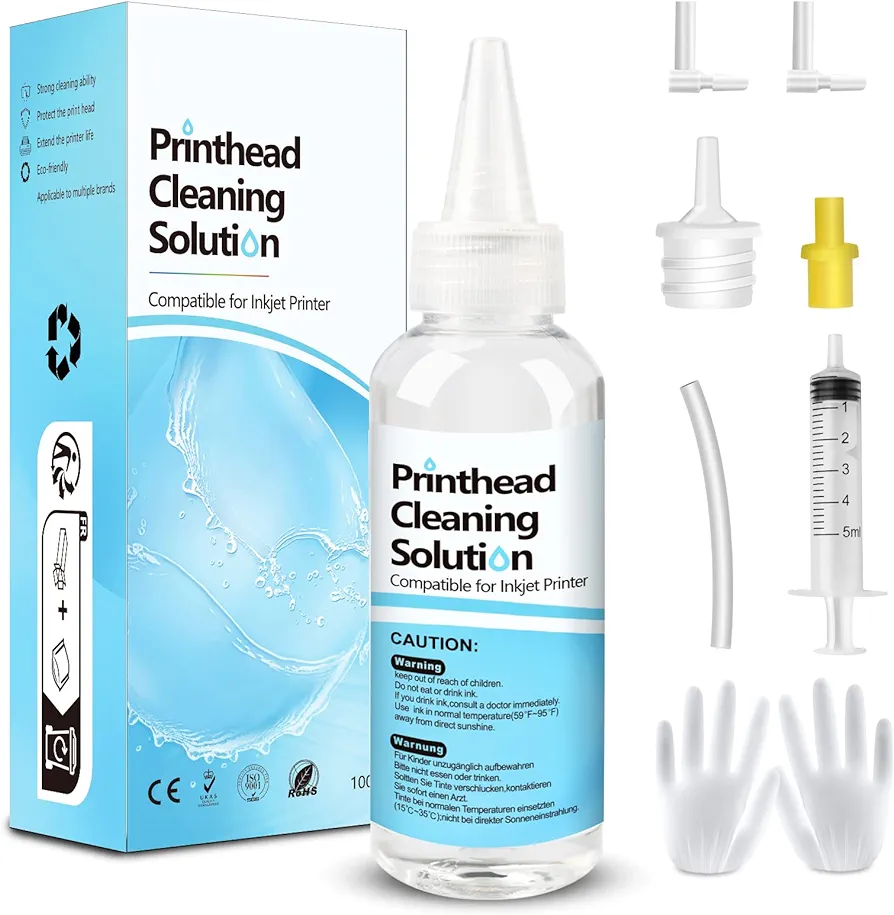
Maintaining optimal print quality is essential for any printer, and one crucial aspect of this is ensuring clean and unclogged printer heads. Printer head cleaning solutions play a pivotal role in this maintenance process. In this comprehensive guide, we will delve into the importance of cleaning solutions, the types available, and step-by-step instructions on how to use them effectively.
Why Use Printer Head Cleaning Solutions?
Printer heads are integral components that dispense ink onto paper, contributing to the clarity and vibrancy of prints. Over time, these heads can become clogged with dried ink or debris, leading to print issues like streaks, faded colors, or inconsistent printing. Printer head cleaning solutions are specifically formulated to dissolve dried ink, unclog nozzles, and maintain optimal print performance.
Types of Printer Head Cleaning Solutions:
- Isopropyl Alcohol:
- Isopropyl alcohol, with a high percentage (typically 90% or higher), is a commonly used and effective cleaning solution. It helps dissolve dried ink and is gentle on printer heads.
- Printer Head Cleaning Kits:
- Many manufacturers offer cleaning kits specifically designed for printer heads. These kits often include cleaning solutions, lint-free cloths or swabs, and detailed instructions for use.
- Distilled Water:
- Distilled water can be used for gentle cleaning, especially when mixed with isopropyl alcohol. It is suitable for routine maintenance and preventing ink buildup.
- Commercial Cleaning Solutions:
- Some commercial cleaning solutions are formulated specifically for printer heads. These solutions often contain a blend of solvents designed to break down dried ink and contaminants.
Step-by-Step Guide on Using Printer Head Cleaning Solutions:
Note: Before proceeding, consult your printer’s manual for model-specific instructions on cleaning printer heads.
- Power Off the Printer:
- Ensure the printer is powered off to prevent any accidents or damage during the cleaning process.
- Access Maintenance Settings:
- Use the printer’s control panel or software on your computer to access maintenance settings. Initiate the printer head cleaning cycle if available.
- Remove Ink Cartridges:
- Open the printer cover and carefully remove the ink cartridges. Place them on a piece of paper or cloth.
- Prepare Cleaning Solution:
- If using isopropyl alcohol, dampen a lint-free cloth or swab. For other solutions, follow the manufacturer’s instructions for application.
- Gently Wipe Printer Heads:
- Gently wipe the printer heads with the dampened cloth or swab. Use a soft, circular motion to dislodge dried ink or debris. Avoid applying excessive pressure to prevent damage.
- Repeat if Necessary:
- If the printer heads are still dirty, repeat the cleaning process. Be patient and avoid rushing the procedure to ensure thorough cleaning.
- Let Printer Heads Dry:
- Allow the printer heads to air-dry completely before reinstalling the ink cartridges. This prevents moisture from affecting print quality.
- Reinstall Ink Cartridges:
- Carefully reinstall the ink cartridges, ensuring they are securely in place.
- Print a Test Page:
- Print a test page to check if the cleaning process has improved print quality. If necessary, repeat the cleaning steps until the desired results are achieved.
Conclusion
Regular use of printer head cleaning solutions is vital for maintaining the longevity and optimal performance of your printer. Whether using isopropyl alcohol, commercial solutions, or kits, following proper cleaning procedures helps prevent and address print issues caused by clogged printer heads. Remember to refer to your printer’s manual for specific instructions and recommendations, and always exercise caution to avoid any potential damage during the cleaning process.
Related Articles
